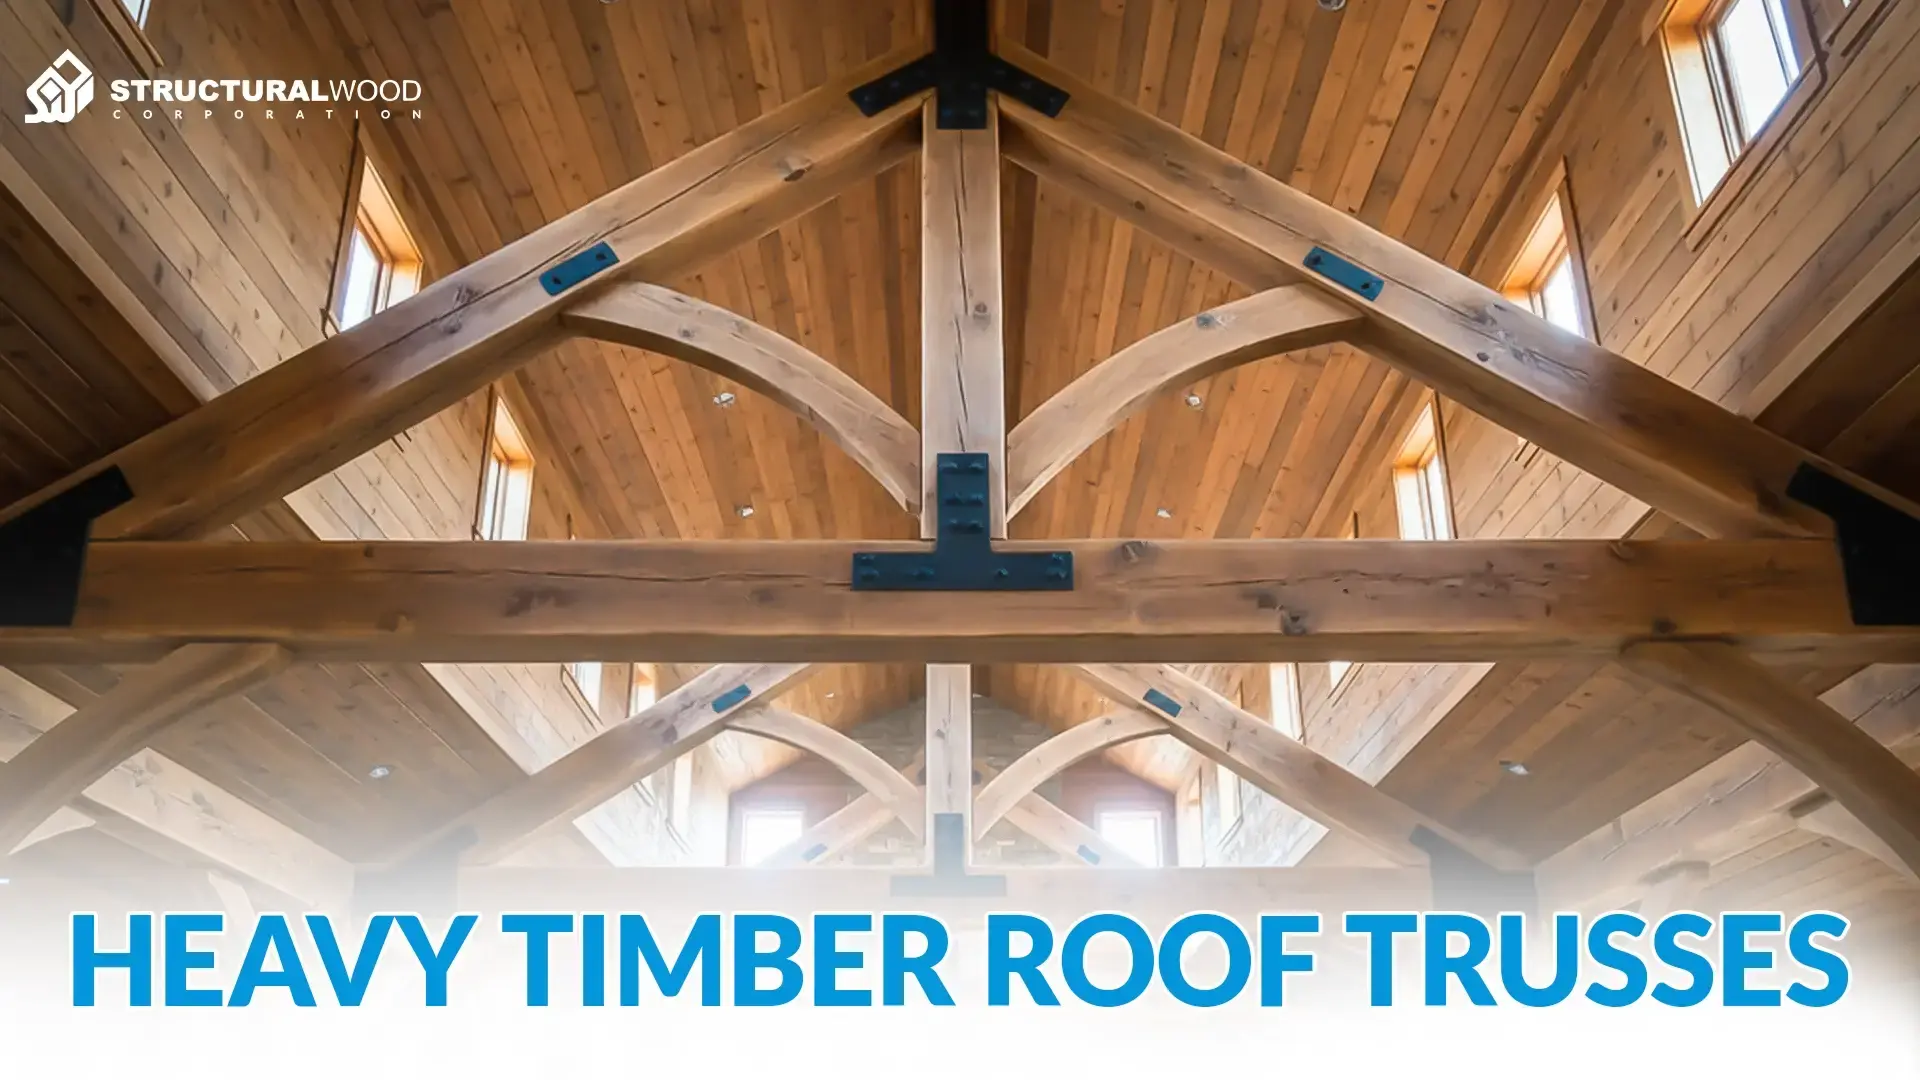
Heavy timber roof trusses are engineered, not a catalog item.
Every set is designed for your span, pitch, and loads, then stamped to meet local code. That is why ordering heavy timber roof trusses is less about shopping and more about clear design decisions.
The real pain is not the wood. It is the gaps between the builder, the designer, and the truss plant. Missing specs, vague quotes, and late stamps slow projects and raise costs.
Here is the simple shift that changes everything: win the order before you place it. Align drawings, loads, and connections first. Get the right details on paper, and the rest moves fast.
This guide shows you how to order heavy timber roof trusses with confidence, from first sketch to delivery day.
Let’s get into it.
How to Order Heavy Timber Roof Trusses Step by Step
Every smooth build starts with clarity. Ordering heavy timber roof trusses is about getting the basics right. If a measurement is off or an approval is late, the whole job slows down.
These steps will keep you ahead, cut delays, and make sure your trusses arrive ready to set, not ready to fix.
Step 1: Confirm Your Roof Design Details First
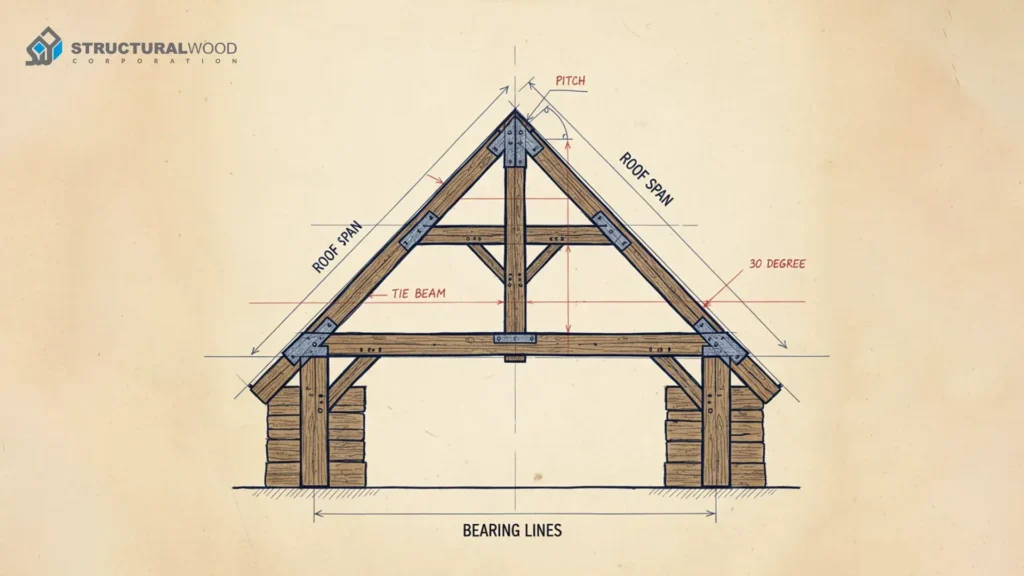
Start before you contact a supplier. Sit with your architect or engineer and confirm the basics: roof span, roof pitch, truss spacing, bearing walls, and the design loads for your site. Each truss is custom-engineered to those numbers. If any detail is missing or guessed, you invite redraws, delays, and extra cost.
Why is this important? Clear inputs lead to clean drawings and fewer changes later. Your city’s code, wind zone, and snow load all shape the truss design.
Tip: Ask your engineer to verify your wind and snow load assumptions for the project address before you request a quote.
Step 2: Request a Preliminary Quote with Complete Specs
Give the supplier one clean set of details so the price is accurate. Share:
- Roof plan or sketch, plus span, pitch, truss spacing, and quantity.
- Building location and required loads (wind, snow).
- Timber species and grade, section sizes, and finish (sawn, planed).
- Connection style (plates, bolts, custom steel), hardware, and any predrill needs.
- State if you need shop drawings stamped by a licensed engineer. If yes, confirm who will provide the stamp and when it is due (at permit or before fabrication).
- Delivery address, site limits (truck access, laydown space), and target crane day.
This helps the supplier price heavy timber roof trusses accurately, set a realistic lead time, and flag any design risks early.
Note: Ask for a line-by-line quote that separates design, shop drawings, stamping, materials, connectors and hardware, packaging, freight, and any crane or unload support. Request unit prices where possible and the rate for changes after approval.
Step 3: Review and Approve Engineered Drawings
Every set of heavy timber roof trusses needs a licensed engineer’s stamp before fabrication. The drawings show how loads travel through each member, which connectors are used, and how the trusses are laid out on the plan. Read every note before you sign off.
What to verify:
- Truss profiles and count match your plan.
- Spans, bearings, and roof pitch.
- Design loads for dead, live, wind, and snow.
- Wood species and grade.
- Connection details and hardware schedule.
- Uplift, bracing, and lateral restraint notes.
- Truss placement plan with clear IDs.
- Revision date, engineer seal, and signature.
Tip: Ask the engineer or supplier to walk you through one truss sheet line by line. Five minutes here can save days later.
Before you approve, explore the Roof Truss Design Guide to understand wind, snow, and load design factors. It makes reading your drawings much easier and faster to approve.
Reminder: Most building departments will not accept trusses for permit or installation without stamped drawings.
Step 4: Confirm Delivery and Site Logistics
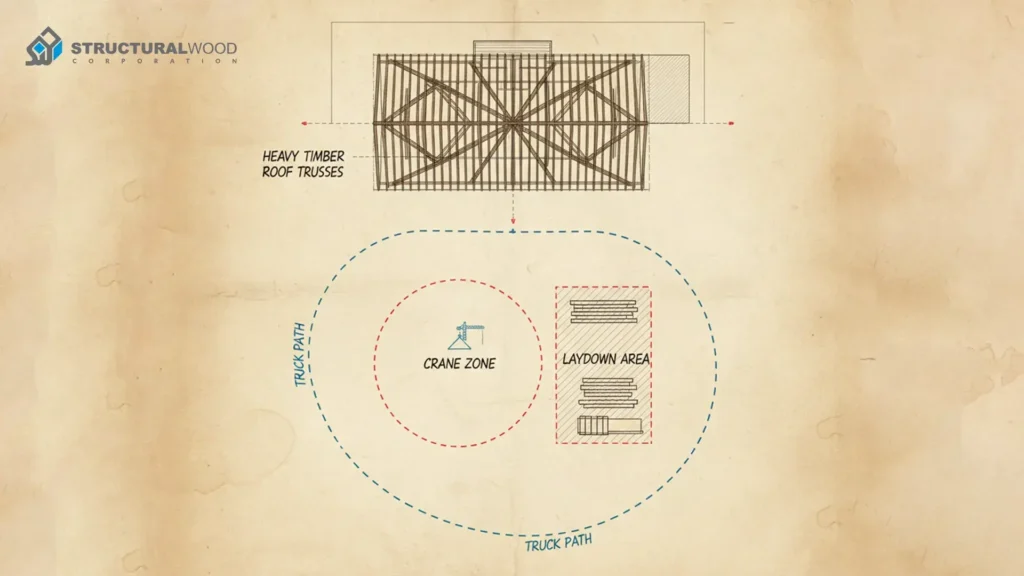
Big timber trusses need space and a plan. Decide the truck route, the exact parking spot, the crane swing path, and a safe laydown area before delivery day.
Ask for a written delivery window and a simple staging plan from the supplier. Make sure the crew knows who will meet the truck and who will guide the crane. Keep people out of the lift zone and check for power lines above the work area.
Pick a flat laydown area close to the set line. Use dunnage so trusses stay off the ground. Cover with breathable wraps if rain is likely. Count and tag each truss or bundle as it arrives and match it to the packing list.
Confirm crane reach and capacity for the heaviest pick. Mark a clear path for the crane to move and for the truck to exit without backing hazards.
Pro Insight: Ask your supplier how they brace and bundle trusses for travel and unloading. Proper blocking and strapping protect connectors and members and reduce the chance of damage.
Step 5: Review Payment, Warranty, and After-Delivery Support
Confirm the payment schedule in writing. Most suppliers ask for a deposit, followed by one or more progress payments before delivery. Make sure you know when each payment is due and what it covers.
Ask for the warranty in plain terms. What is covered, and for how long? Typical items include fabrication accuracy, hardware and connectors, and any factory-applied wood treatment. Note the exclusions and the steps to file a claim.
Inspect each shipment as it arrives. Take clear photos of every bundle and any damage you see. Compare the packing list to what is on site.
Important: Save your photos with the delivery ticket and date. If damage shows up later, those records protect you and speed up any claim.
Step 6: Schedule Installation with Builder and Engineer
Lock the date only after the trusses, crew, and crane are all confirmed. Share a simple lift plan with the team and the engineer. Walk the crew through the installation drawings before set day so everyone understands bearing points, bracing, and hardware.
Assign one person to check each truss against the drawing as it is set. Do not cut, notch, or drill anything on-site unless the engineer puts it in writing.
Safety Tip: Never modify a timber truss in the field without written engineer approval.
Conclusion
Ordering heavy timber roof trusses is all about planning. When your design, loads, and schedule fit together, everything else falls into place. Clear drawings mean no confusion. A confirmed delivery plan means no waiting around for cranes. This is how good builders keep their timelines tight and their projects running smoothly.
Ready to order heavy timber roof trusses?
Share your plans with Structural Wood Corporation for a drawing check, a clear quote, and a delivery plan that fits your site. Reach out today to start your project.
FAQs
How long does it take to order heavy timber roof trusses?
About two to six weeks from final drawing approval and payment, depending on design and production schedule.
Do I need an engineer’s stamp before ordering?
Yes. Most jurisdictions require engineer-stamped truss drawings before fabrication.
Can I customize my timber trusses?
Yes. Trusses are custom-designed for your span, pitch, loads, and connection details.
Who handles delivery and crane setup?
The supplier usually coordinates delivery. Crane setup and site staging are typically arranged by the general contractor or builder.
How much do heavy timber roof trusses cost?
Price varies by span, species, and complexity. Skip ballpark figures and request a detailed quote based on your drawings.