Planning on developing a commercial or residential property? You’ll need a flat roof truss that’s strong, efficient, and up to the mark.
The name says ‘flat,’ but a flat roof truss design includes a slight slope. This leads to smooth water runoff.
The structure must span the space between the two load-bearing walls. Thereby, it distributes the roof’s weight evenly.
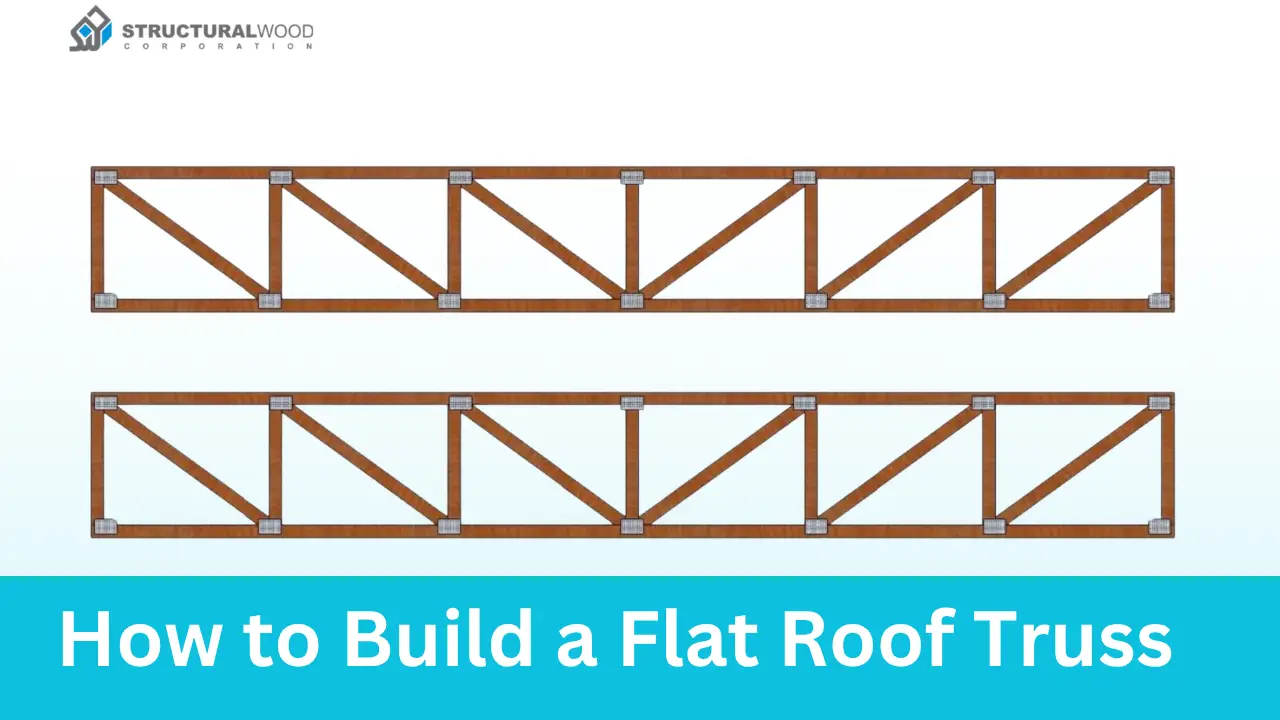
The roof trusses use multiple straight members arranged in triangular shapes. So no need for any external support to span long distances. That makes it budget-friendly as well!
A precise flat roof truss design could be a bit tricky if you DIY. But don’t worry! Here you will learn how to build a flat roof truss step-by-step.
How to Build a Flat Roof Frame
Let’s start with the basics and help you do some DIY with flat roof trusses.
Step 1: Strategic Planning
Every project needs structural planning as well as accurate measurements. You need to be cautious. A little design flaw could hamper your flat roof truss construction entirely.
Measure the Span
- To start with, measure the exact dimensions of the walls for load-bearing braces.
- Include a slight incline in your roof layout. So that it prevents pooling or standing water.
- If you want an optimal shape, use either a hip truss or a pergola truss. Because they support flat roof systems effectively.
The Design Process
- Make sure your flat roof can handle both dead loads and live loads. In this case, the ends must be strongly supported to avoid loose ends.
- Everything must remain in proper alignment—including the horizontal bottom chord, the two angled upper chords, and the connecting web members. The lumbar size should be the same for each member.
Select the Right Lumber
- For small-scale properties, we recommend using sawn lumber. Because they provide necessary lengths for a solid truss.
- Make sure your design complies with the local building codes. It must meet the minimum height requirements for flat roof structures.
Step 2: Structural Bracing: Precision Engineering
Once your design is ready, it’s time to build the base for your roof truss. Precision engineering is a must in this step.
Start with Wall Bracing
Develop a square along the top edges of the outer walls. This square acts as your first supporting framework.
Cut your 2×4 lumber
- Once you develop the frame, cut two pieces of 2×4 lumber.
- One beam should be a little lower than the other. Make sure that they incline towards each other.
- In between these two pieces, place a horizontal beam.
- Everything must align altogether with the structure outlined in your initial design.
Trim the Truss Members
- Now get the truss members. According to your design, trim each component to its desired size.
- The bottom chord might need more than one length of lumber.
- The truss must hold optimal balance. Join the pieces at the truss’s midspan.
- For long-lasting performance, cut angularly at the ends of each member. As a result, they sit flush and secure when joined.
Step 3: Layout Alignment
When your first truss is ready, it’s time to create the truss framework. This step brings consistency and flexibility to your roof truss.
Repeat the Truss Frame
- When you finish the initial truss segment, repeat exactly the same.
- Place it at least six inches apart from the first.
- Place a slope across each segment to avoid water drainage.
- The second truss segment must include a support beam between the two 2x4s.
- Now screw it into the timber square base.
Continue Across the Span
- You have to continue this process until you reach the opposite wall.
- Now you don’t need to place a crossbeam between two walls.
Assemble on the Ground
- After shaping the chords and web members, assemble the truss structure altogether.
- Place it piece by piece synchronously on the floor. Doing this helps you to inspect whether there is any loose connection. Or trim any excess if components don’t sit flush.
Calculate the Roof Length
- Assemble all these measurements to determine the exact length of all three truss chords. That is how you get the total roof height for your property.
- For the bottom chord, it should match the building’s width plus 0.25 inches.
- To create the peak of the truss gable, the two top chords must meet precisely at the center.
Step 4: Secure All Joints
A strong truss system depends on how securely the joints are being made. This step equally strengthens each part of your roof truss.
Addition of Vertical Beams
- Add two vertical beams from the upper span of the truss down to the supporting beam. That will secure the connections between upper and lower elements.
- Now, insert small timber pieces to strengthen the lower junctions. For additional support, extend these joints into the angled slope beams.
Increase Wall Support
- Before you start with roofing boards, use bricks to increase wall support.
- Keep stacking until they reach the upper edge of the truss. This will create a stable perimeter for the roof cover.
Secure with Gusset Plates
- Lay out metal gusset plates to secure each truss joint. Each plate should cover all the members at a joint.
- Hammer them securely. Make sure that the teeth are fully embedded. Besides, the plate should be placed smoothly against the wood surface.
- Flip the truss and repeat the same for the other side as well.
Use Plywood Gussets (Recommended)
- We recommend using plywood for custom gusset plates.
- Lay a plywood piece over the joint so that it spans across all intersecting members.
- Then use a generous layer of construction adhesive across the joint. You can use a putty knife to apply the glue.
- Now press the plywood down and nail it to all the connected members. Repeat the same for both sides of the truss.
N.B. Make sure to apply glue, whether it is plywood or steel gussets. Then drive screws through the pre-drilled holes in the plate. This is to secure strong connections at the joints.
Step 5: On-site Installation: Seamless and Precise
Now comes the final step, where each truss should be ready for installation. Maintain these final steps with proper instructions and accuracy. Because this step determines the overall stability of your roof structure.
Position the Trusses
- Once you complete the fabrication, assemble the trusses into position synchronously.
- Place them accordingly onto the top plates of your exterior walls.
- You should toenail each truss directly into the top plate. This is to ensure a secure and precise fit along the length of the wall. It would minimize any lateral shift during weather or load impact.
Add Lateral Bracing
- Next comes lateral bracing.
- To ensure stabilization of the trusses, use blocking or install long purlins across each truss. This step prevents racking.
- Also, it ensures that your flat roof system can withstand any harsh situation—be it wind loads, live loads, or any commercial-use stresses.
Conclusion
So, now that you know the basics of how to build a flat roof truss, you need to make sure that you know about your building codes and regional regulations before building the roof truss.
FAQs
What is the best truss for a flat roof?
The best truss for a flat roof would be a parallel chord truss, as it includes top and bottom chords, thereby making it ideal for roof applications.
How far can a flat roof truss span?
material,
A flat roof truss can span based on certain factors such as truss design, characteristics of truss material and load-bearing capacity. However, a flat roof truss usually spans between 24 and 72 feet (7.3-21.9 meters).
Can I legally build my own trusses?
Yes, it is possible to build your own trusses. However, in terms of legal procedures, you must take permissions and meet other regulatory compliances.